
How to Measure Your Body for Online Sizing Charts
Ads
Accurate body measurements for clothing require a flexible tailor tape pulled snug against your skin or undergarments without compressing your tissue. This straightforward process removes the guesswork from vanity sizing and inconsistent brand tags, though it does require taking fresh numbers periodically because posture, weight, and fabric stretch change how garments fit over time.
Ads
Online shoppers frequently face mismatched fits because standard letter sizes like Small or Large vary significantly across fast fashion and boutique retailers. Taking precise dimensions of your bust, waist, hips, and inseam gives you static numbers that you can directly match against any manufacturer chart before completing an order.
Ads
Essential tools and preparation before measuring
Taking precise body measurements begins with the right equipment and proper posture. A flexible fiberglass or fabric tape measure is necessary because metal hardware tapes cannot contour around the curves of your body. If you only have a ruler or rigid tape, you can wrap a non-stretching ribbon or piece of string around your body, mark the intersection, and measure the ribbon flat on a table.
Stand barefoot on a hard, level floor in front of a full-length mirror. The mirror allows you to check whether the tape remains parallel to the floor around your back, which prevents diagonal slanting that artificially inflates numbers. Wear the specific undergarments you plan to use with the clothing, such as a standard everyday bra for casual tops or shapewear for structured evening dresses.
Preparation checklist
- Use a flexible tailor measuring tape that displays standard inches and centimeters.
- Wear form-fitting undergarments or measure directly over bare skin.
- Keep your shoulders relaxed, arms down at your sides, and stand with your feet together.
- Breathe naturally rather than sucking in your stomach or expanding your ribcage.
Taking upper body measurements accurately
Upper body measurements dictate the fit of blouses, t-shirts, blazers, and structured outerwear. The three core reference points are the high bust, full bust, and shoulder width. To record your full bust, wrap the tape across the fullest part of your chest, underneath your armpits, and straight across your shoulder blades. Keep the tape level and snug without indenting the bra cups.
Shoulder width is critical for tailored garments like blazers and woven coats that have zero stretch. This dimension is measured across the back from the bony point of one shoulder joint to the other. Sleeve length starts at the center back of your neck or the outer shoulder point, extending down to the wrist bone with your elbow slightly bent.
Upper body checkpoints
- Bust: measure across the apex of the chest while wearing your typical daily bra.
- Underbust: measure firmly around the ribcage right below the bra band for fitted crop tops.
- Shoulder width: measure horizontally across the upper back between the shoulder bone tips.
- Armhole circumference: wrap around the shoulder and armpit where a sleeve seam sits.
Measuring the natural waist and torso
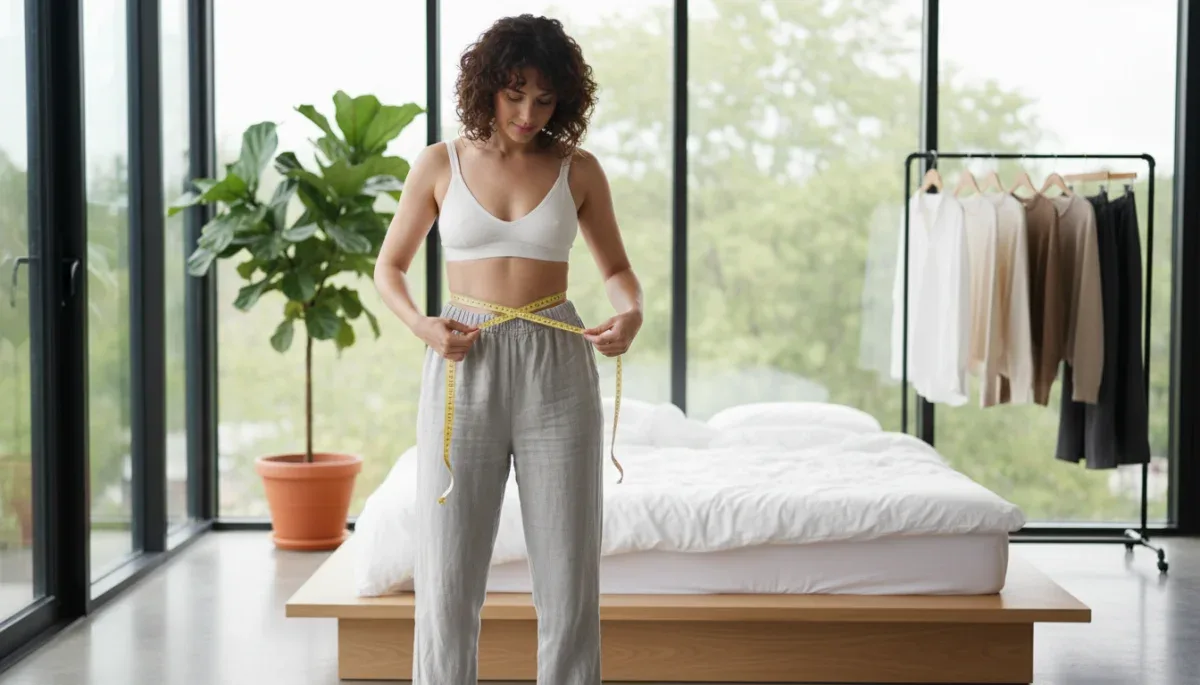
The natural waist is often the narrowest point of your torso, located roughly one to two inches above your belly button and below your ribcage. If you have trouble locating this point, bend gently to one side; the crease that forms naturally marks your true waistline. Wrap the tape around this narrow section while maintaining a normal standing posture.
Do not pull the measuring tape so tight that your skin pinches, as clothing cut to an overly tight measurement will feel constricting when seated. For low-rise or mid-rise bottoms, you also need your low waist measurement. This point sits where casual jeans or activewear pants typically rest, roughly two to three inches below the natural waistline.
Waist measurement steps
- Locate the narrowest part of the torso between the ribs and hip bones.
- Place one finger under the tape to allow for normal breathing room and natural movement.
- Record the measurement at the end of a normal exhale without forcing your abdomen flat.
Measuring hips, thighs, and lower body length
Lower body fit relies primarily on the full hip measurement and the inseam. Your full hip is not where your hip bones sit; it is the widest circumference around your buttocks and upper thighs. Stand with your feet together so your pelvic alignment remains neutral, and wrap the tape around the fullest projection of your rear while checking the mirror to ensure the tape is level.
The inseam determines pant length and runs from the lowest point of the crotch seam straight down the inner leg to the ankle bone. Because measuring your own inseam while standing can cause you to lean over and distort the number, the most accurate method is measuring a pair of well-fitting pants laid flat on a firm surface from crotch seam to leg opening.
Lower body checkpoints
- High hip: measure around the upper pelvis along the top of the hip bones.
- Full hip: measure around the widest point of the buttocks with feet touching.
- Thigh circumference: wrap around the fullest part of the upper thigh just below the groin.
- Inseam: measure along the interior seam from the crotch fork down to the desired hemline.
Translating raw measurements to online size charts
Online retailers present sizing information in two distinct formats: body measurement tables and flat garment measurements. Body charts state the physical proportions designed to fit a given tag size, while garment charts list the dimensions of the finished cloth. When viewing garment measurements, you must account for wearing ease, which is the extra fabric required to move, sit, and breathe comfortably.
Woven fabrics like denim, linen, and structured cotton require at least one to two inches of ease above your physical waist and hip measurements. Stretch knits containing spandex or elastane can match your exact body measurements or even measure slightly smaller, known as negative ease. Always read the product description for fabric composition before selecting a size based purely on chart numbers.
Chart translation tips
- Identify whether the online chart reflects body dimensions or finished garment dimensions.
- Add one to two inches of ease for rigid fabrics to ensure freedom of movement.
- Prioritize the largest measurement that corresponds to the garment's most fitted section.
- Check product descriptions for fabric stretch percentages like elastane or spandex.
At a glance
| Measurement | What to know |
|---|---|
| Full bust | Measure across the fullest point with a level tape while wearing your daily bra. |
| Natural waist | Find the narrowest crease above your navel and keep the tape comfortably snug. |
| Full hips | Wrap around the widest projection of the seat with feet together. |
| Inseam | Measure from the crotch seam to the ankle on well-fitting flat pants. |
Frequently asked questions
How tight should I pull the measuring tape?
The tape measure should sit flat against the skin without digging into or indenting the tissue. You should be able to slide one flat finger comfortably beneath the tape at any measurement point. Pulling too tight will result in purchasing garments that are too small to wear comfortably.
Should I measure myself over clothes or bare skin?
Measure directly over bare skin or close-fitting undergarments for the highest level of accuracy. Bulky clothing like sweaters or heavy denim pants adds artificial bulk to your numbers. Wear the specific style of bra you intend to pair with the garment you are planning to purchase.
Why do clothing sizes differ so much between brands?
Brands construct clothing using different fit models, target customer demographics, and vanity sizing standards. A medium in one retailer may correspond to a small or large in another. Comparing your static body measurements to the specific product chart eliminates confusion caused by arbitrary size labels.
What does wearing ease mean on garment size charts?
Wearing ease is the extra space built into a garment beyond your physical body dimensions to allow normal movement. Rigid woven garments require one to three inches of positive ease, whereas stretchy athletic wear uses zero or negative ease to hold its shape against the body.
The bottom line
Relying on physical body measurements rather than standard tag sizes gives you a consistent baseline for shopping online across diverse brands and fabric styles. Taking updated measurements every few months protects you from sizing inconsistencies and minimizes the hassle of processing returns. Before completing your order, check whether the retailer publishes body dimensions or finished garment measurements and confirm the fabric composition to ensure the proper amount of stretch.
Written by
Lucas Bastos
Lucas Bastos writes about house, clothes and discounts for onlyshein.com. Each article explains how things work, compares published details such as prices, policies and program rules, and points readers to the official source before they decide.